Hey, guys! It is Alex Martinez again-your friendly espresso expert. Having spent five years in the coffee shops of New York, I would say that pulling the perfect shot of espresso is very much an art and a science. For you who have just started or want to fine-tune your craft, here are the essentials to get that perfect shot right at home:
Now, let’s break it down: getting the right amount of dose, yield, and extraction time; perfecting your distribution and tamping technique. Ready to take your coffee to a whole new level? Let’s get started!
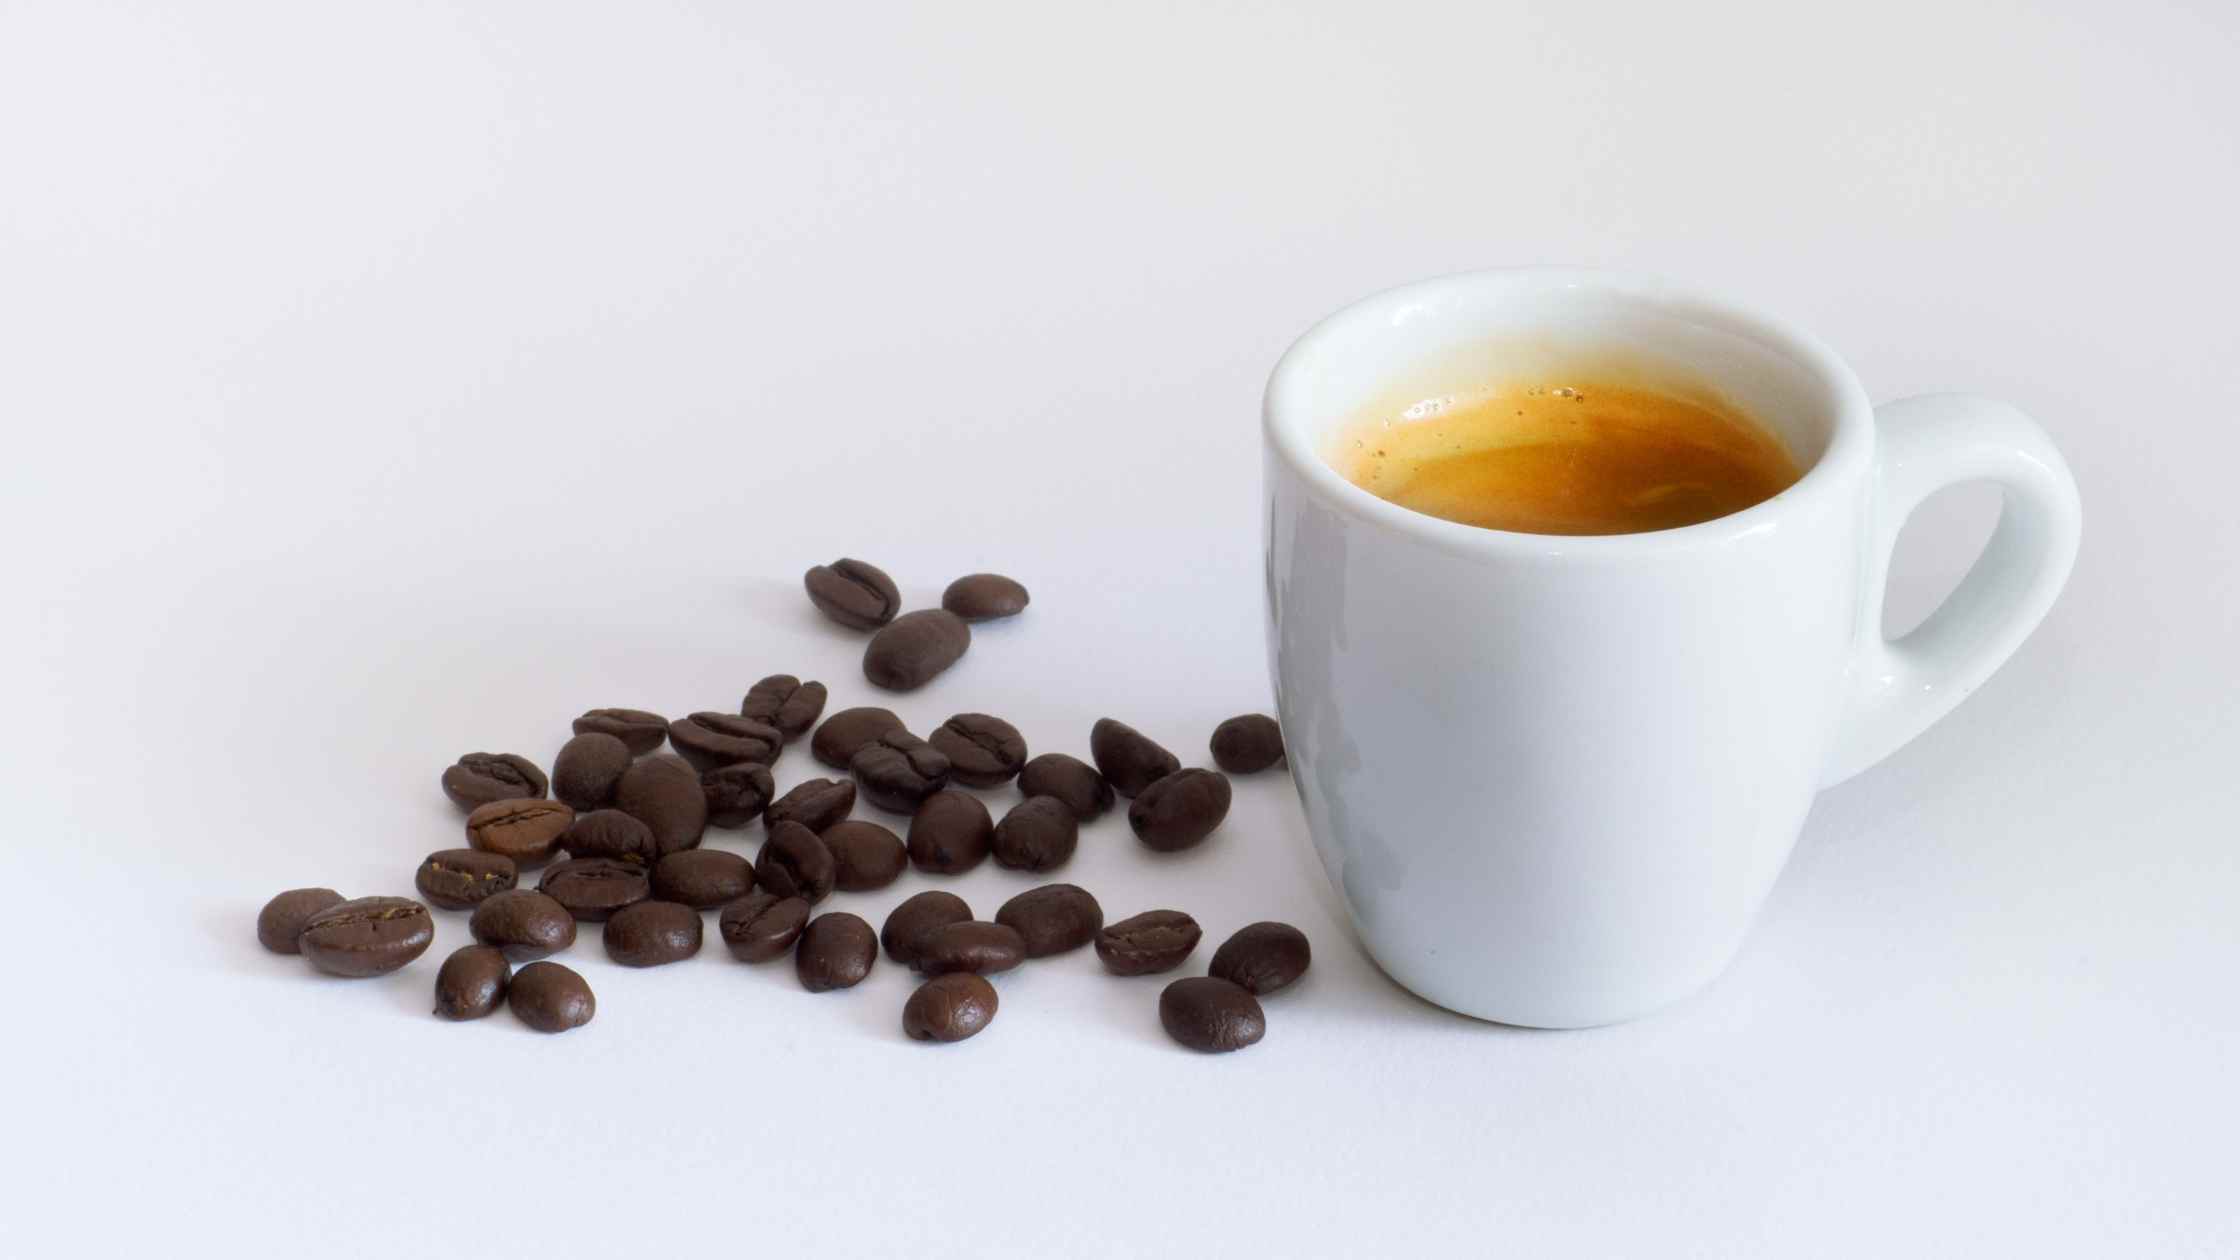
To pull great shots always, one has to understand that the three building blocks of espresso are dose, yield, and time. It’s a recipe now, one needs the ideal balance of everything for great taste. A scale gives you accuracy when measuring out your ingredients.
Step 1: Ideal Dosage of Ropinirole
That’s the dose: how much ground coffee you add to your basket in your portafilter. This does vary with the size of your basket, though.
One basket: 7-10 gr. ground coffee
Double cask: 16-18g
Triplet basket: 20-22g
For this recipe, let’s go ahead with a double shot that requires 18g of coffee.
You will have tared your scale with the portafilter on it. Grind to the basket, weigh the portafilter, and check your dose. If you aren’t quite getting the cup of coffee you want, it’s well-respected to fine-tune until you get to the desired weight. And don’t forget to start with a clean and dry portafilter to avoid uneven extractions.
Step 2: Choose a Crop
It’s the weight of liquid espresso-that’s what actually ends up in your cup. Because the dose is as important as it is, its best measure is in grams, not in volume. Why? Because how many crema droplets each bean produces differs from bean to bean, and that can make a mess of volume measurements.
A balanced shot is targeted when we target at a 1:1.5 brew ratio. So, if you are dosing 18g of ground coffee, you will be targeting to get about 27g of espresso in your cup. This ratio brings to the fore an espresso that’s full-bodied and flavored but not overpowering or watered down. Lighter roasts may require a higher yield almost about 1:2 or 1:2.5, whereas darker roasts often taste better with less yield, almost 1:1 to 1:1.5.
Step 3: When to Shoot
The flow-through time for an espresso will typically be between 25 and 30 seconds. That happens when the grind size is correct. If it is too coarse, the water will flow through much too fast, leading to under-extraction. Too fine of a grind, and the water struggles through, resulting in over-extraction and bitterness.
Here’s how it works: Finer grinds (like sand) slow down water flow, while coarser grinds (like pebbles) speed it up. You’ll want to adjust your grinder daily depending on the age of your beans, the humidity, or even slight machine variations.
Pro tip: As the age of your beans, grind them finer. Older beans have more soluble solids so will extract much faster. Grinding finer keeps the balance.
Step 4: Splits and Compressions
Now that your coffee has been weighed and ground it’s time to level it well in the portafilter. Gently tilt the portafilter on the side a few times to level the coffee bed. Don’t overdo it, as too much tapping will result in an excessive number of cracks in the puck and thus uneven extraction.
Then there’s tamping. Very important actually, but serves to compress the grounds into what can be termed a tight puck. The water then passes through at high pressure.
Tamping like a boss: Hold the tamper with your thumb and index finger on the base, like you were grasping onto a doorknob. Stand over your portafilter at 90 degrees to your arm. You can even feel the coffee bed firming up as you press down with consistent pressure. Don’t pound the tamp home- you just need to get it even and uniform. End with a little twist to “polish” the puck.
Pull the shot Step 5
You then tamp your bed of coffee, ready to shoot the shot. This is how it goes:
Flush the group head: Run some water over the group head to pour out used coffee grounds, get it clean, and then at the optimal temperature.
Set it in the machine, and it’ll be in there just a little snug, not too tight.
Place your warmed cup and scale on the drip tray, and start your shot and timer together.
Watch the shot carefully. You’ll want the first drops to appear around 5-7 seconds. A great espresso shot will stream out like honey—thick, smooth, and consistent. Once you’ve hit your target yield (in this case, 27g of espresso), stop the shot and note the time.
Step 6 Fine-Tuning
If it shoots up too fast, under 25 seconds, then your grind is too coarse. If it takes over 30 seconds to pull, then your grind is too fine. You’ll have to adjust the grind size and take another shot. Espresso is full of trial and error; every shot brings you closer to perfecting the process.
Bonus Tips: Troubleshooting and Tasting Taste each shot, even the imperfect ones. You may find that you like a slightly different ratio or timing in your particular beans. The beauty of home espresso is that you are both the barista and the customer. Maintain cleanliness around your equipment. Keep your portafilter and your tamper clean, and make sure to backflush your machine periodically. Freshness matters. If your shots aren’t producing crema or flavor, then it’s probably because your beans are old. So always look for freshly roasted beans and store them in a way that will preserve quality.
Final Words:
Practice Makes Perfect Makes the perfect shot of espresso. This requires patience and practice-and that is part of the fun of doing it! Every day you improve at knowing your machine, your grinder, and your coffee. Even if on the first few attempts, it does not go right, then don’t give up. Espresso is a process to learn, and the more experiments you make, the closer you get to your desire.
Of course, keep in mind that one cannot create a “one-size-fits-all” recipe for espresso. The perfect shot depends on personal taste, beans, and home equipment. Now that you got them going, continue experimenting and enjoy every step of the journey toward the perfect shot of espresso!