Hi, everybody. I’m Alex Martinez, and I’ve been perfecting the art of coffee crafting for the past five years as a barista at Starbucks here in New York City. I’m pretty sure that I know what makes for the perfect shot. So, welcome here. If you wish to learn how to make espresso at home without an expensive machine, congratulations! You are in the right place. Whether you are a new espresso newbie or one of the thousands of coffee old-timers looking for another way to brew, this guide can help you make that Starbucks-style espresso right in your kitchen. And now, let’s start!
The Espresso Journey Begins: What You’ll Need
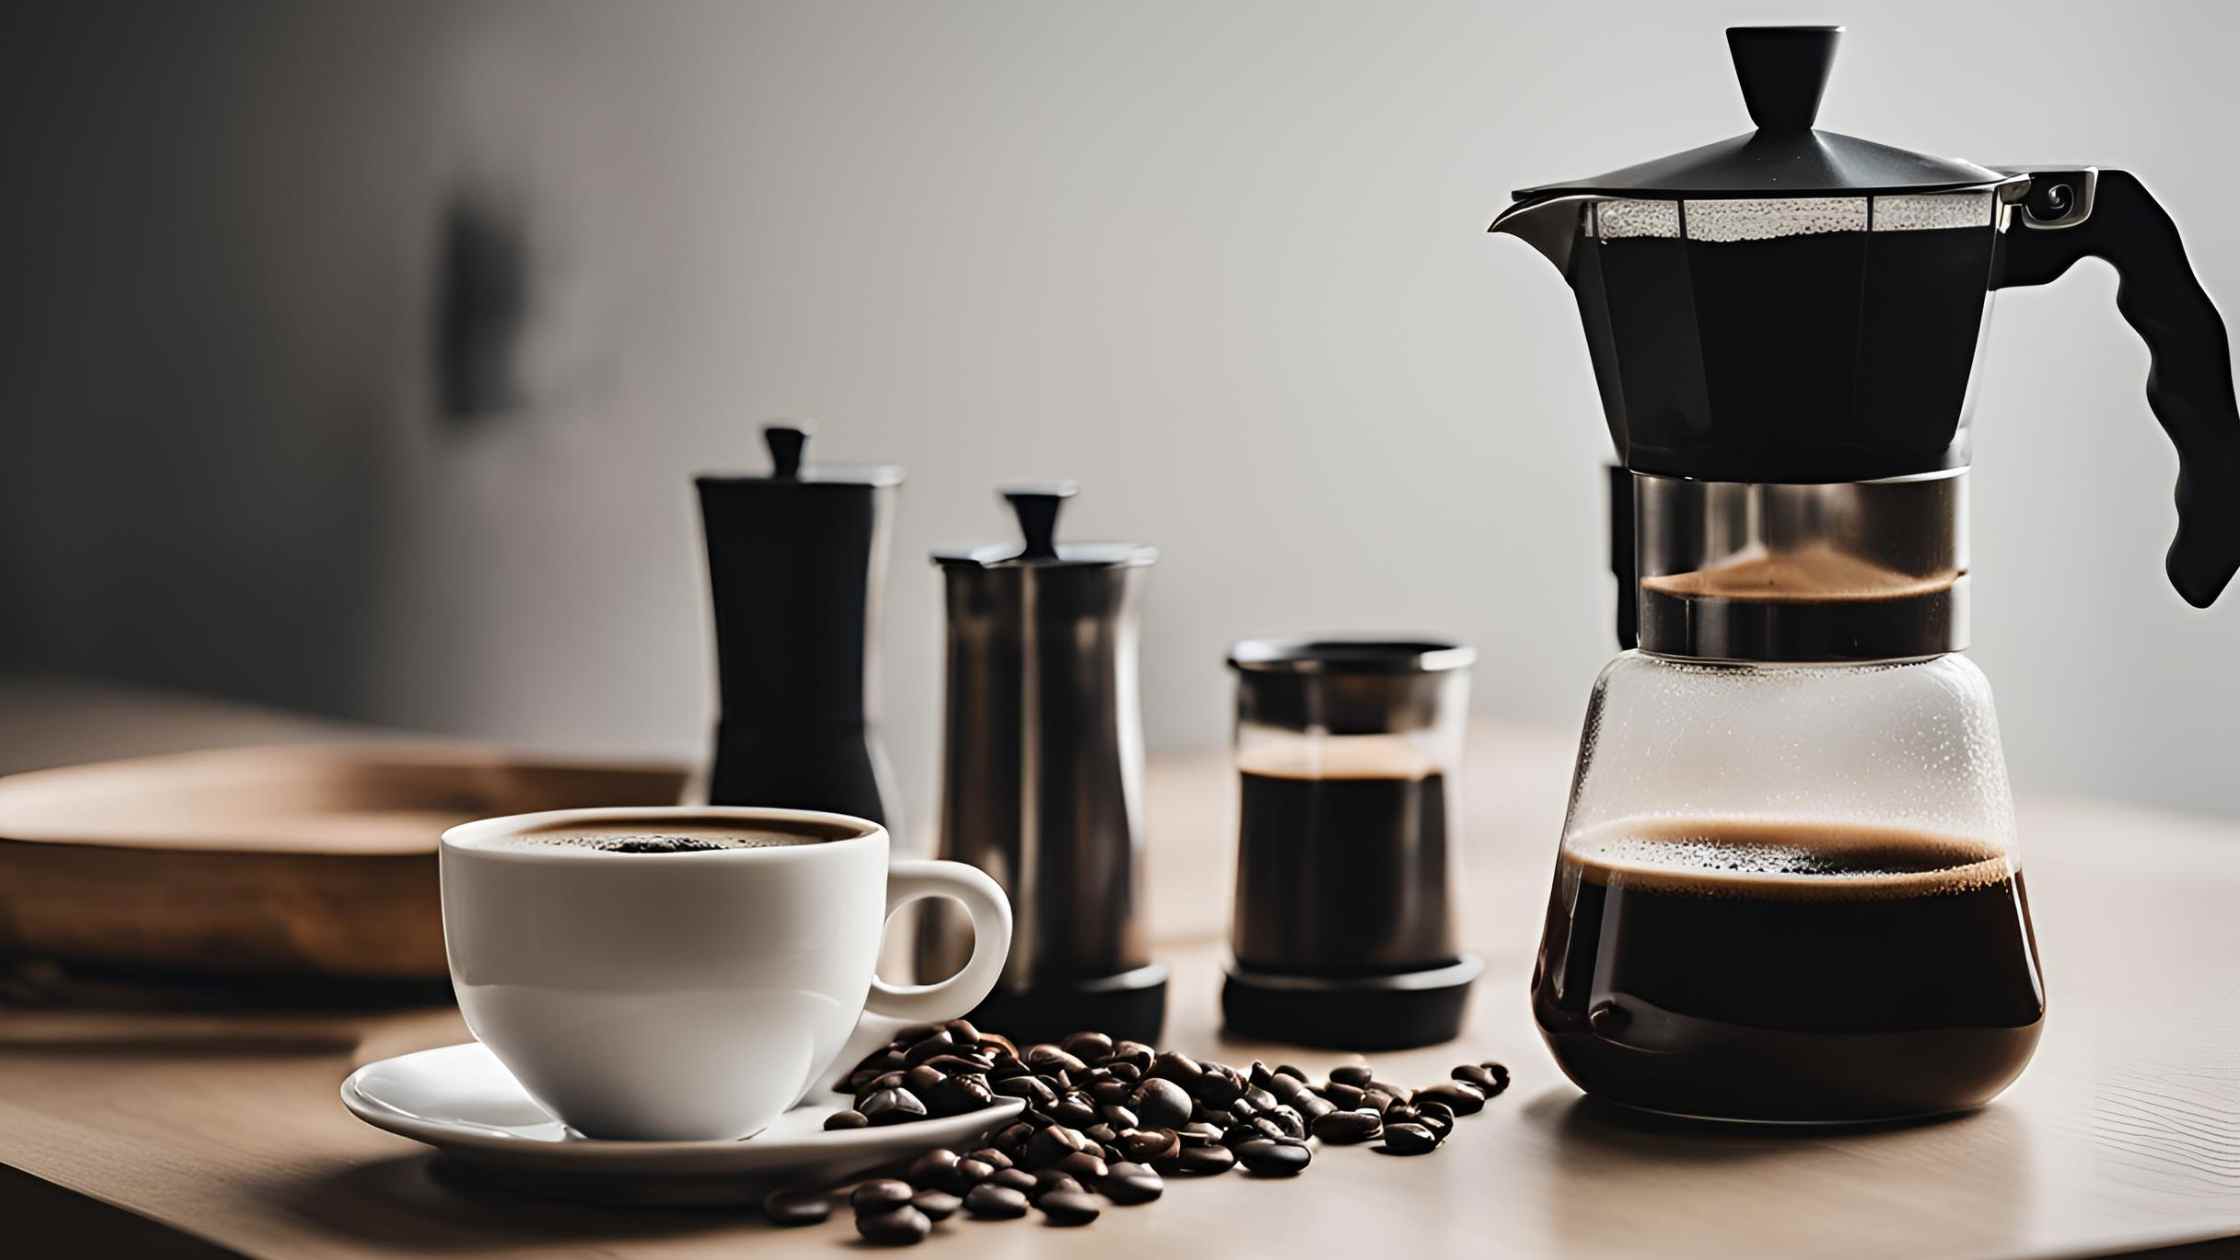
I always think the word “espresso” just makes you think of that shiny, metallic contraption full of bells and whistles. Trust me, though—you can make a bold shot of espresso without one. Maybe it won’t have all the pressure of the old machine, but a little technique will get you close to that Starbucks-quality shot. Here is what you need:
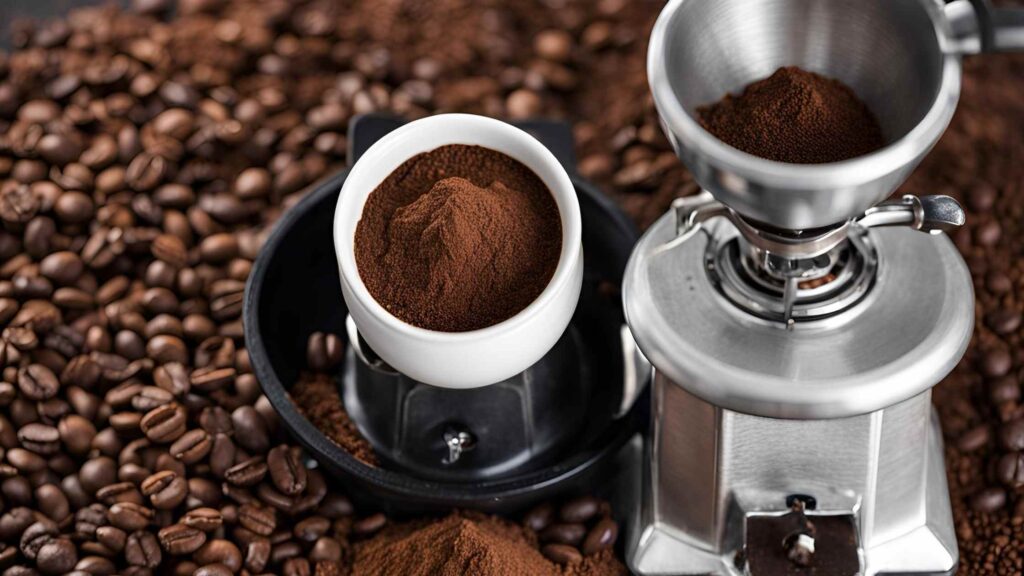
- Finely ground coffee: When it comes to espresso, it’s all about the grind. It should be very finely ground, almost as fine as powdered sugar. Think of the finest setting on your grinder or pre-ground espresso.
- Brewing device: You can use a Moka pot or an Aeropress—these are the only two devices that can help you make that strong coffee without a machine.
- Hot water
- Patience and a steady hand
Step 1: Choose Your Brewing Style
But first, a little housekeeping: let’s talk about your brewer. For the unfamiliar, the Moka pot is a compact stovetop coffeemaker that’s served as the faithful sidekick in Italian kitchens for generations. The Aeropress is somewhat more modern of a device yet still manages to brew something like the intensely concentrated coffee we associate with espresso.
Moka Pot Method (My Personal Favorite!)
This is probably the closest production to making almost an espresso-like coffee without a machine, and I recommend it for its authentic Starbucks flavor.
- Fill the bottom chamber with water—fill the valve. Do not overfill because if that is done, the pressure will not be high enough.
- Put fresh ground coffee into the filter basket. This is the most crucial step—use a good even layer of coffee grounds, but don’t press it down too much. Imagine sand on the beach—smooth but not packed.
- Assemble your Moka pot and put it on the stovetop over medium heat. Now, things start to get interesting. Pay attention to that soft gurgling sound—that’s when the water inside the Moka pot reaches boiling point and forces steam through the coffee grounds, producing that tasty liquid, very much like espresso.
- Once you hear a hissing sound, take your Moka pot off the heat—this means all your coffee has brewed. Stir it, and you’re good to go!
Aeropress Method (For the Modernist)
If you happen to have an Aeropress, then this brew method really does deliver a smooth, bold coffee that’s almost another cousin of espresso.
- Put a filter on the Aeropress and rinse it with hot water. Trust me, this will remove that papery taste, so your coffee will be pure and without flavor contamination.
- Pour 2 tablespoons of well-ground coffee into the Aeropress chamber. This should make for a good, strong, concentrated brew.
- Pour hot water (around 200°F) over the coffee grounds. Fill the brewing chamber about halfway. Stir briefly and let it steep for over 30 seconds.
- Press down slowly and with some conviction. You want to feel some resistance—this is what you’re looking for to mimic an espresso-like extraction. When that soft hissing sound happens, you’ve reached the end of your brew.
- You can fill it up with hot water if you want to make an Americano-style coffee, or enjoy it straight, as served in a coffee shop.
Step 2: Adjust to Your Taste
Now it gets interesting: adjust the grind size to your taste of the espresso. Do you like it super strong and punchy? You can make the grind finer or let it steep for a few seconds longer. Do you want it smoother? Then perhaps you’ll want a slightly coarser grind or a bit more water in the brew.
Don’t worry if it doesn’t turn out perfectly the first time—espresso brewing is a delicate dance. Too bitter? Try a coarser grind or use slightly cooler water. Too weak? Make sure your grind is fine enough and increase the steeping time. It’s all about tweaking the variables to match your taste.
And don’t be afraid to play around with your coffee-to-water ratio. The best part of drawing espresso in-house is you can control every cup as precisely as you want.
Step 3: Serve It Up!
With this espresso-like coffee, you can drink it straight, mix in a little steamed milk for a latte, or froth the milk and add it for a cappuccino. It’s incredible how much this homemade method will resemble the drinks you love at Starbucks, especially when you play around with some flavored syrups or spices like cinnamon or vanilla.
Final Thoughts
Of course, it’s not so challenging to make espresso at home with a bit of experimentation—it just requires some fiddling and practice before getting it right. Soon, you’ll be pulling your Starbucks-style shots in no time.
The best part? There’s just plain brewing pleasure: knowing that you can distill something bold, smooth, and attuned to your tastes with a few simple tools. So go ahead—try, experiment, and remember: the perfect espresso is the one that makes you feel like you’re stepping into your favorite café.
I’d love to hear how your first shot at home turns out—let me know!