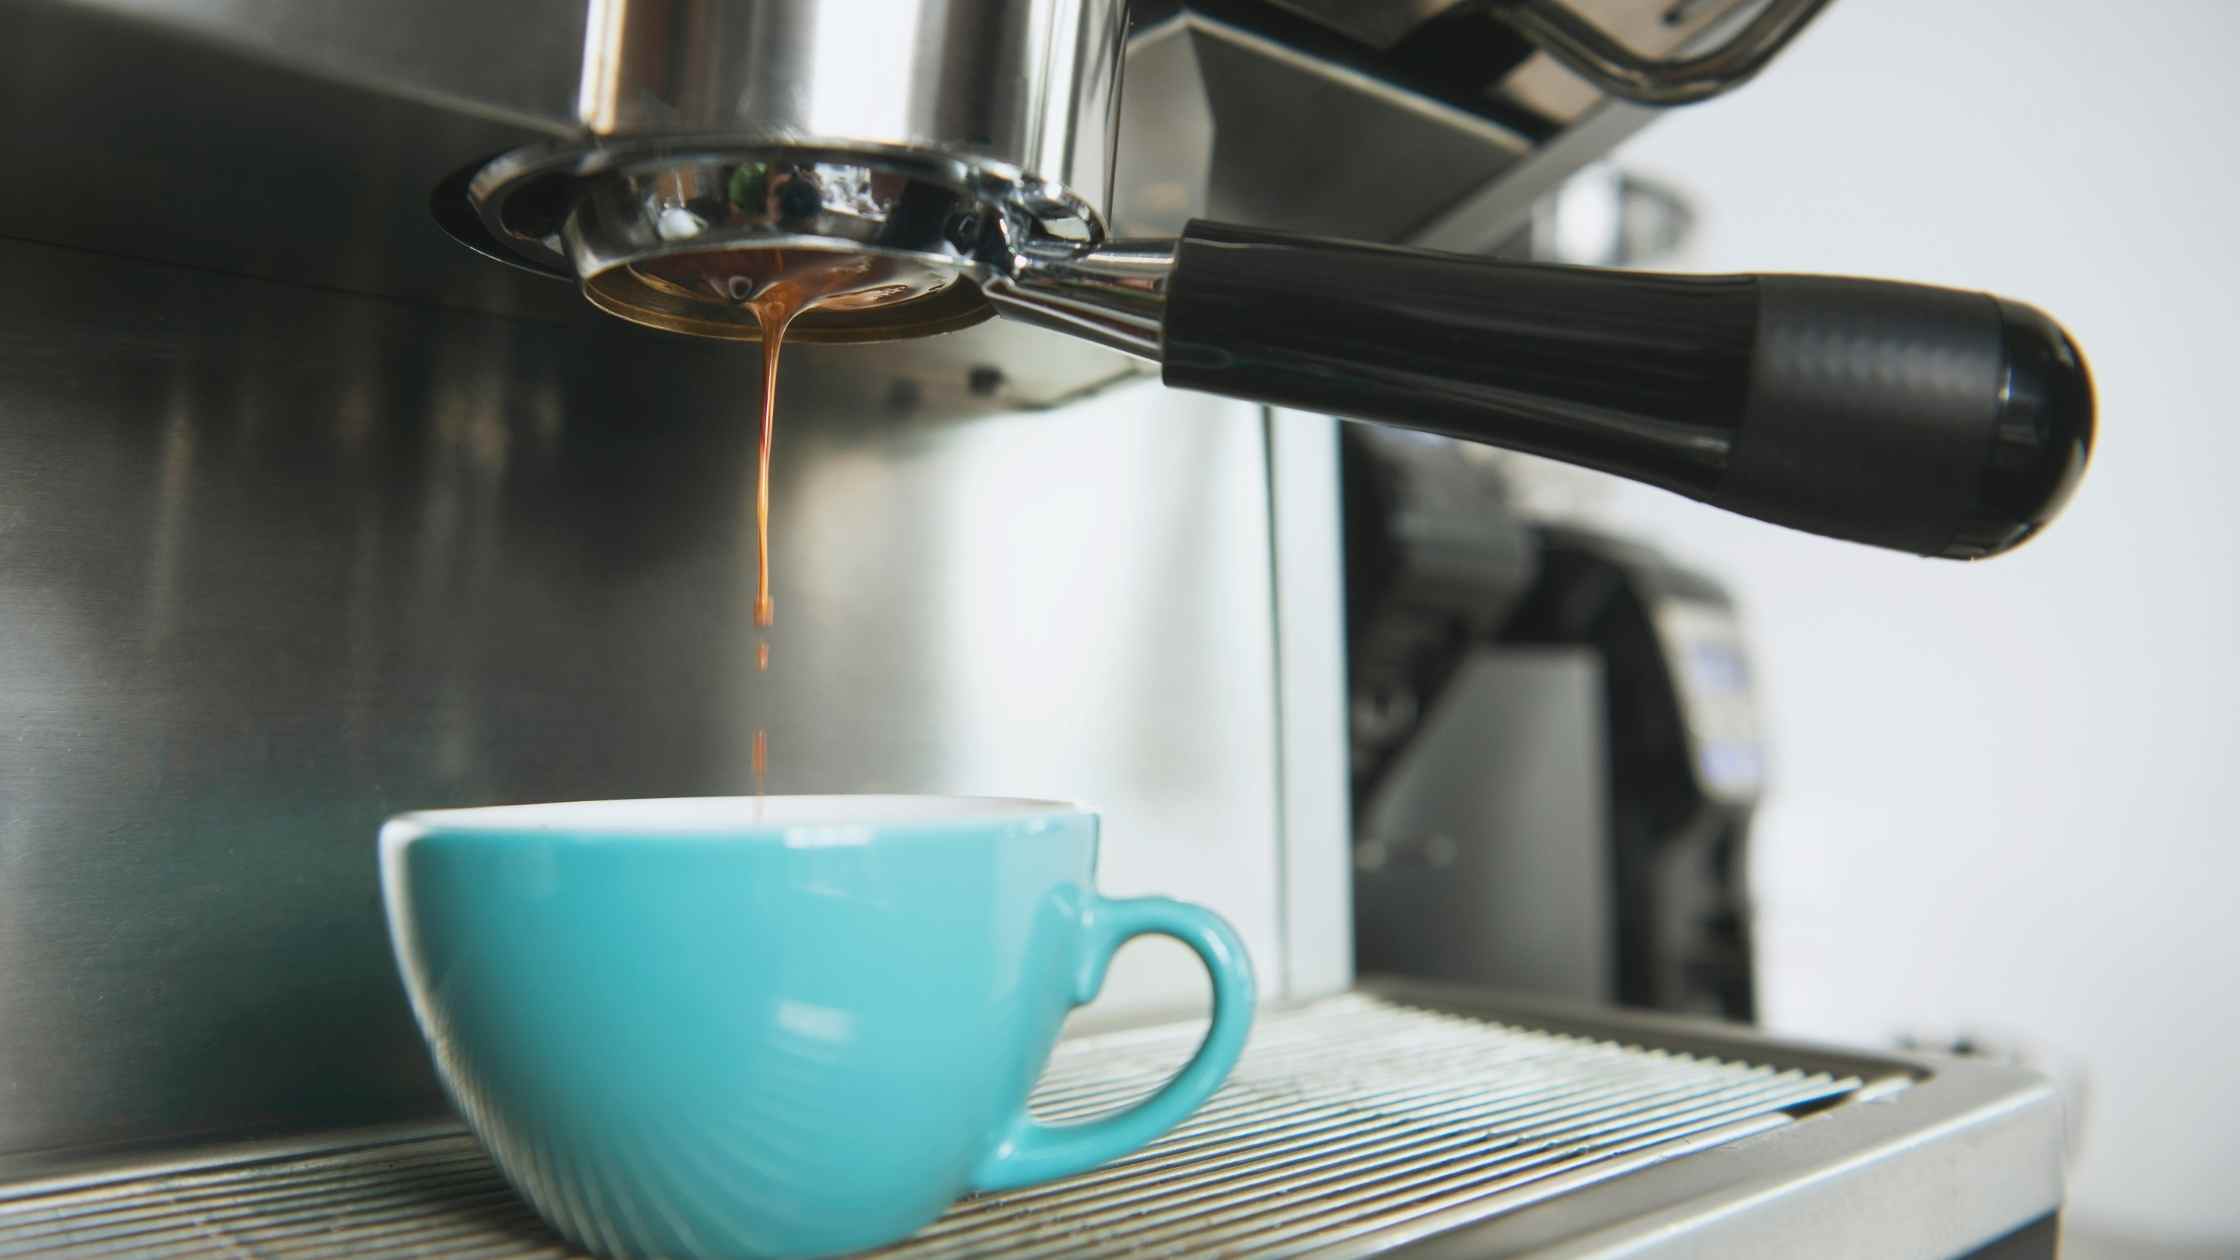
Hello! My name’s Alex Martinez, your go-to guy for espresso. Today, we’re going to talk about something crucial for anyone setting up a café: installing your new espresso machine. You’ve likely chosen the perfect machine for your business, but before you start brewing, there are several steps you’ll need to take to ensure a smooth installation.
It all begins with preparing for the installation of your espresso machine. Whether you’re opening a new café or upgrading your current setup, you’ll want to ensure that every detail is in place to avoid any hiccups. Let’s walk through the steps you need to take before the installation—from making sure the machine fits your space to ensuring proper water and power connections.
Check the Measurements
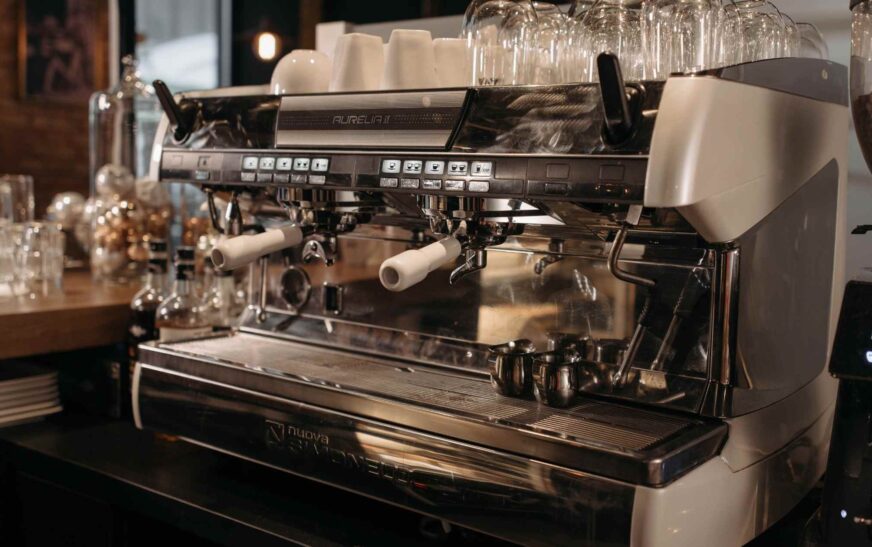
First things first: make sure your machine fits. This might seem obvious, but many cafés overlook the exact measurements of their espresso machines. Even if you’re replacing an old machine, don’t assume the new one will fit the same way—especially if it’s a more advanced model with extra features.
For instance, a standard countertop is 600mm deep, but some espresso machines, like the Victoria Arduino Black Eagle, can reach up to 690mm in depth. It may not seem like much of a difference, but if your bar area isn’t designed to handle that extra depth, it could mess up your layout. Even power outlets or a wall that’s too close can cause problems during installation.
Pro Tip: Leave some extra room for grinders and water boilers. Your baristas will appreciate the extra space, and it will make their job more efficient. This will save you a lot of hassle in the future.
Build a Strong Foundation
Your espresso machine needs a stable, level surface to sit on. Many modern machines are heavier due to multi-boilers or other advanced technologies. For example, the three-group Black Eagle can weigh up to 130kg when filled with water.
It’s crucial to ensure that the countertop you choose is level and can support the machine’s weight. A machine that isn’t level will result in uneven water distribution, leading to uneven espresso extraction, which affects flavor and quality. After installation, use a spirit level to check the bottom of the group head and adjust the feet of the machine until it’s perfectly horizontal.
Install the Drainage System
While drainage might not be the most exciting aspect of espresso machines, it’s crucial to the smooth operation of your setup. Gradual blockages from poor draining of coffee grounds in the pipes can cause issues over time.
Your machine will likely drain through a flexible hose into a waste pipe. Make sure the slope of the hose is steady, ideally at a 1:50 gradient or steeper, to ensure smooth water flow and prevent blockages.
It’s best to install the waste pipe after your equipment is on-site to ensure proper alignment. If you have to install the pipe beforehand, follow the manufacturer’s instructions carefully, so your technician can make precise adjustments during the final installation.
Water and Energy Demand
Proper water and power connections are essential for running your espresso machine smoothly.
Water Supply:
- The machine requires a cold, safe water supply connected to a filter that removes impurities without affecting water pressure.
- Water pressure should be between 2-4 bars. If it’s too high, you’ll need a pressure-reducing valve; if it’s too low, you may need a booster pump.
Power Supply:
- Most machines require a separate power supply with an omnipolar isolation switch within 1 meter of the machine for emergencies.
- Depending on your machine, it may require either single-phase or three-phase power. Three-phase power is typically used for heavy-wattage equipment and may not be feasible in some buildings. Have an electrician check if three-phase power is available in your building.
Smooth Installation Tips
Here are a few more tips to make the installation process painless:
- Read the Manufacturer’s Instructions: Obtain and read the instruction manual thoroughly, then give it to your technician for reference during the installation.
- Test Water Pressure: Test the water pressure before installation day to avoid surprises.
- Plan Your Bar Layout: Plan the bar layout ahead of time to allocate space for grinders, milk jugs, and other tools, ensuring an optimal workflow for your baristas.
Conclusion
A well-prepared installation is key to getting the most out of your espresso machine and creating a smooth workflow in your café. Take the time to measure your space, ensure the foundation is sturdy, and sort out the water and power connections. By handling these details in advance, you’ll avoid unnecessary delays and be set up for success from day one.
Trust me, once the machine is up and running, you’ll be glad you prepared. Now you can focus on what really matters: perfecting your espresso shots and attracting more customers!