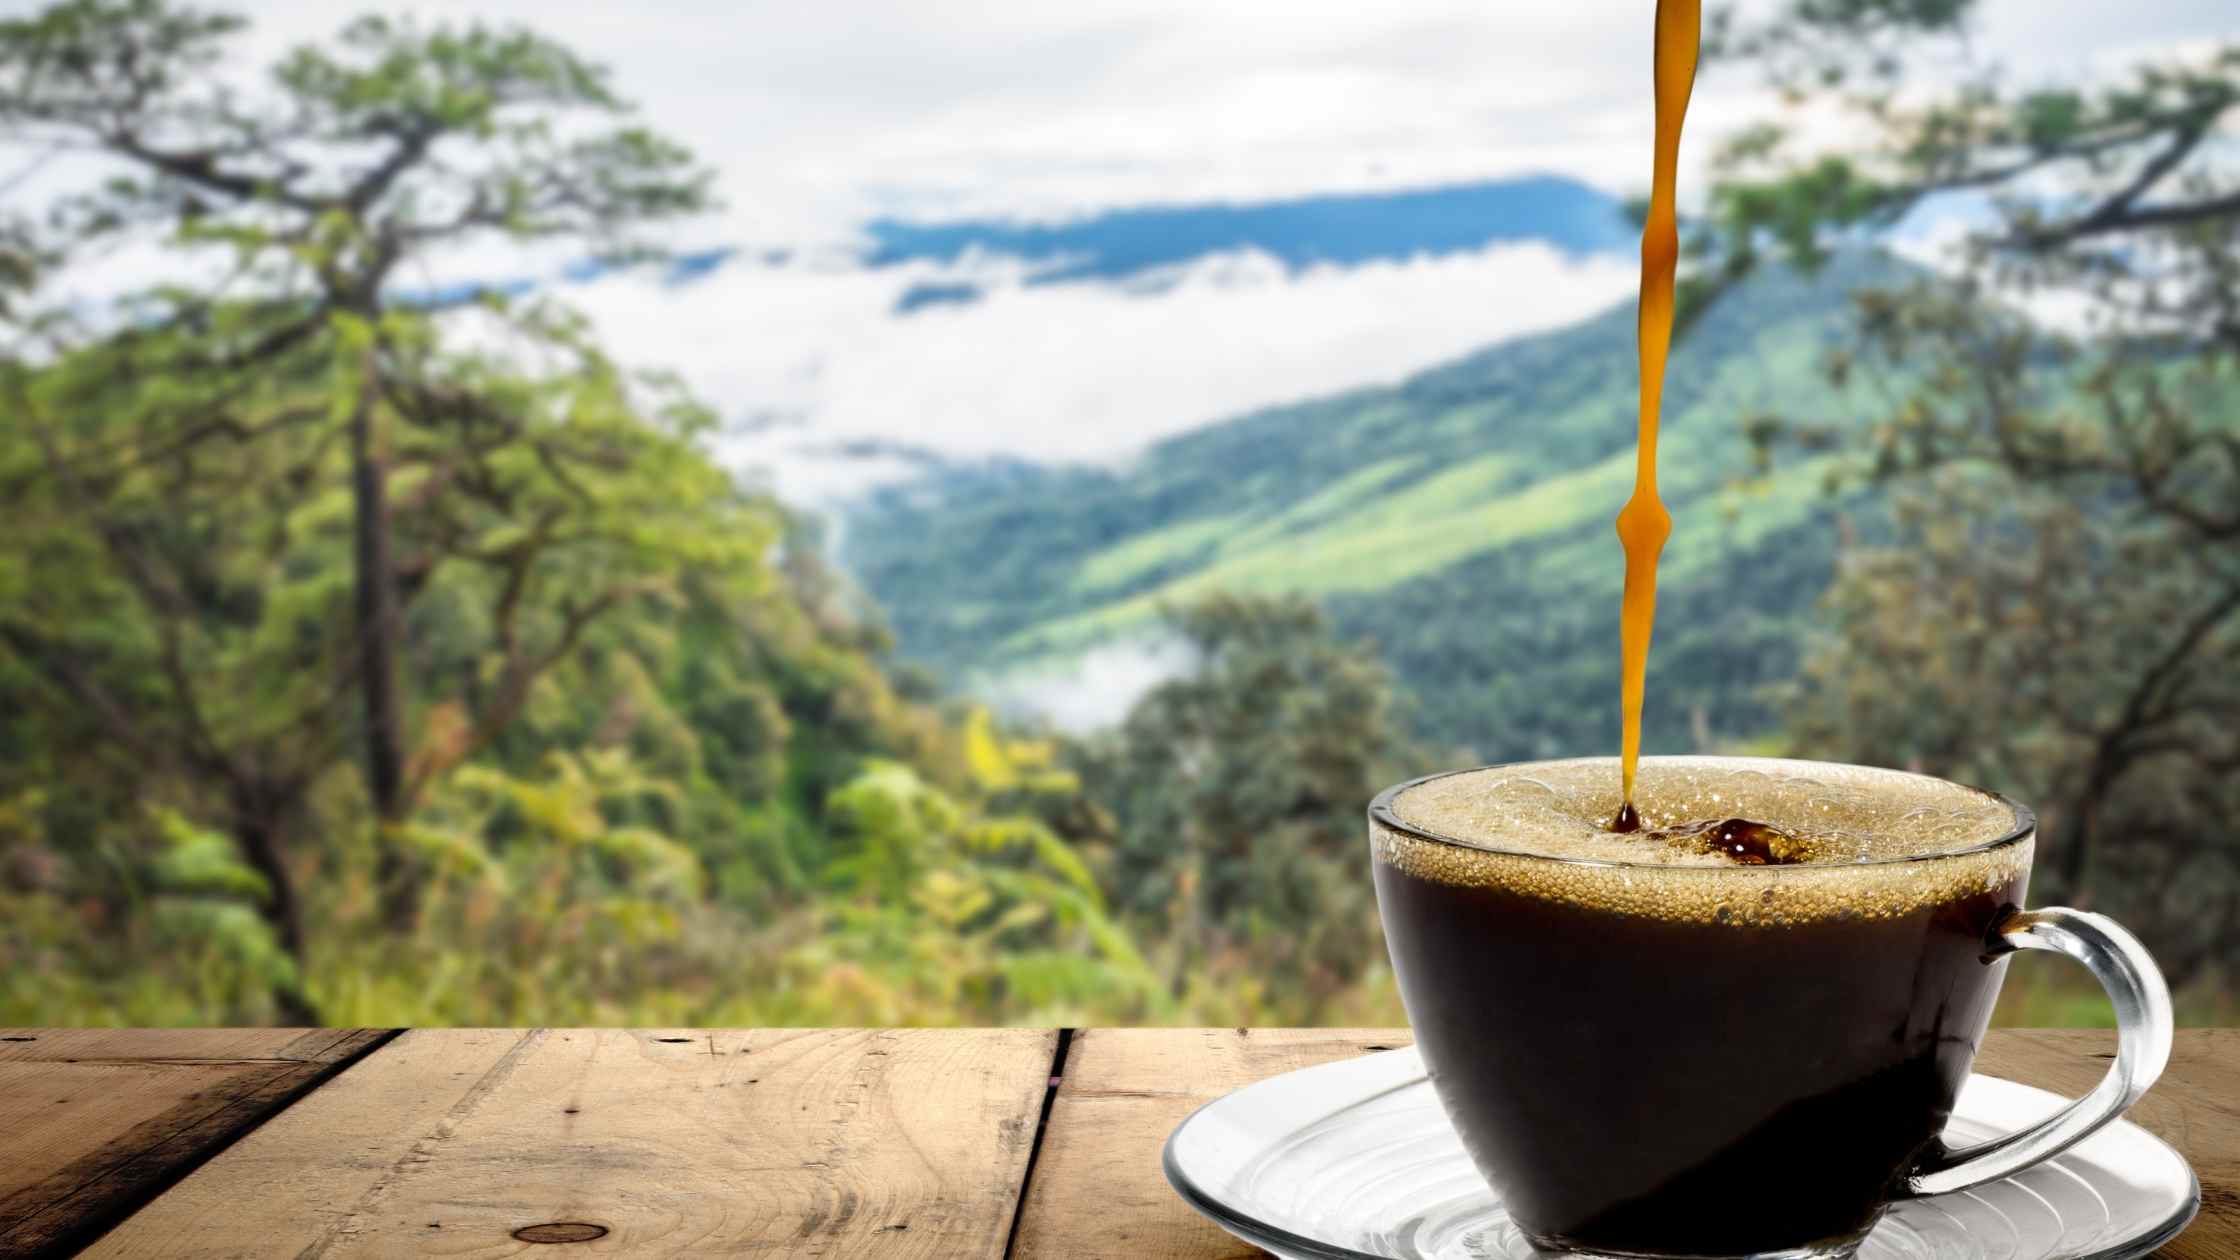
Campers and coffee lovers, Alex Martinez here. One thing, for sure: it’s only that much better with a good cup of coffee. Pitch a tent, load up the RV, or head out on a backpacking trek. There is probably room in that backpack for your coffee. And I’m here to prove to you that brewing great coffee in the wild is not only possible but kind of important.
No more swallowing down instant coffee just for some semblance of caffeine fix, as the lightweight and portable brewing methods have allowed for an excellent cup of coffee just about everywhere you go. Whether it’s cow-boiler coffee or expensive equipment Bellman Espresso & Steamer CX25P we’re going to dig into the best brewing coffees while camping.
Cowboy coffee: the old-school version, not the best
Now let’s get on with the first of the originals-cowboy coffee. This method was devised in the Old West period when cowboys would simply brew their coffee directly over the campfire using only a pot, water, and grounds. It’s back to basics, very crude indeed, yet no equipment is required, so this is how it originated.
But cowboy coffee is notoriously finicky to get quite right. Without a filter you’re likely to end up with a gritty over-extracted brew unless you watch the timing. Worry not though-as with most things-better brews can be achieved by tweaking a thing or two: cheesecloth or even an egg makes a big difference in settling grounds. Not the best brew there is, perhaps, but it’ll do when you have very little gear on hand.
How to Brew Cowboy Coffee:
Fill a pot with cold water, hang it above the campfire, or place it on your camping stove.
For a coarse grind, use a ratio of one tablespoon of coffee to every cup of water.
If you are that wild soul, use cheesecloth to hold the grounds or crack an egg right into the pot to help clarify your coffee.
Boil the leaves with that stove and then give it a steeping time of 5-10 minutes.
Let it stand briefly before this helps the grounds at the bottom to settle.
Advantages:
No special equipment required.
Suffices to make coffee for groups.
Cons:
These two may cause bitter, over-extracted coffee.
The grounds stay in your cup.
Bellman Espresso & Steamer CX25P: The Ritz for Campsite Coffee
If cowboy coffee doesn’t really float your boat and you’re looking for something a little more refined, the Bellman Espresso & Steamer CX25P would be the perfect camping luxury item. This stove-top espresso maker allows you to brew espresso-style coffee even in the great outdoors. And it is portable-it requires a camping stove to host it and even comes equipped with a steam wand for frothing milk; you could even make lattes or cappuccinos around the campfire.
While being a bit bigger than the other camping brewers, the Bellman is the versatility and ability to brew for groups make it top of its game for those who want their camping coffee elevated.
Pouring Water with the Bellman for Espresso
Grind 50g espresso to fine to medium grind and place in the basket.
Use the paper filter atop of the tamped grounds for a clean pull.
Fill the water chamber to ‘just below’ the “3” mark, and assemble the Bellman.
Put it on medium flame over your camping stove. Take the pressure to about 2-2.5 bars.
Turn the tap on, letting your espresso flow over for approximately 10-15 seconds.
Disadvantages:
The closest you’ll get to espresso while camping.
Built-in steam wand to froth the milk.
To the others, it brews coffee.
Weaknesses:
It needs a camping stove for uniform heat.
Not the most compact solution.
One-Cup Filter/Dripper: The Classic Camping Pour-Over
Of course, for lighter, more nuanced coffee, the one-cup filter or dripper is the way to go. This is very user-friendly, lightweight, and requires minimal gear-it is perfect for solo camping or small groups. Also, it is very customizable, so you can control things from grind size up to the speed of pour.
The only real drawback is that it makes only one cup at a time, so you will be very patient if you’re entertaining.
Make pour-over coffee in the camp.
Boil 250-350ml water in a pan.
Place the dripper in your coffee cup and add a paper filter.
Add 15 to 20 grams of ground coffee and pour a small amount of hot water over the grounds to let them bloom.
Add the remaining water in a circular motion, starting at the middle, at a slow speed over 30 seconds.
Advantages:
Brews clean rich coffee.
Lightweight and easy to pack.
Disadvantages:
Brews one serving at a time.
The company produces filters, which are wastes.
Aeropress Go: Sleek and Portable for Espresso Enthusiasts
But if you want an espresso shot minus the pain of having a full espresso machine, I think that the Aeropress Go is fantastic. Great for backpackers, really easy to clean and extremely portable-light. So, in all seriousness, the Aeropress actually brews coffee using pressure which, really gives you a concentrated shot, very much like espresso.
The Aeropress Go is a travel coffee maker that’s all in one and has a built-in cup. And if you want an extra-long coffee, you just need to add water after brewing, and you make yourself an Americano.
Brewing with the Aeropress Go: A Step-by-Step Guide
Grind 15 grams of coffee to a medium-fine grind.
Pour in 225ml of boiling water over the grounds of coffee contained in the Aeropress.
Stir for 30 seconds; seal the plunger onto the pot.
Pour slow for 20 seconds to get your coffee.
Advantages:
Light and compact.
Easy to apply and to clean.
Produces rich, espresso-like coffee.
Disadvantages:
Not for a huge audience.
Can get a bit cumbersome if super-light backpacking.
Lightweight, and Easy-to Use Coffee Bags
If one needs to pack lightly or is out in the woods, coffee bags are a lightweight and easy way to go. Consider them as a loose-leaf tea: no grinder, no filters, and no additional weight. They do not offer the same level of flavor immersion that a pour-over or espresso does, but this will be decent coffee on the go.
You can also make a coffee bag yourself. Just fill the regular coffee filter with ground coffee and tie it up with a string.
Steps To Use Coffee Bags:
Boil some water on a campfire or stovetop.
Steep the coffee bag in your cup and pour over with boiling water.
Let the bag steep for 2-3 minutes then remove the bag.
Advantages:
Ultra-light and packable.
None other is required.
It’s easy to use and quick.
Cons:
It lacks the richness of other brewing methods.
It generates waste that needs to be disposed of. Campfire Percolator: A Pro-Friendly Group Choice
Campers can also use percolators for groups of rovers: That’s simple, low-fuss brewing for a group. A percolator brews coffee by circulating boiling water through the grounds, so this is pretty straightforward and efficient for big batches of coffee.
Quality not quite that good, actually, as that of a true Aeropress or a Bellman, but it is a well-tested, no-brainer technique to do over a campfire.
The way of brewing with a percolator:
Fill the percolator’s bottom chamber with water. Add coarse ground coffee to the basket; about 1 tablespoon for every cup of water. Put the percolator over your campfire or stove and start boiling the water. Let it steep for 4-6 minutes, then pour and enjoy.
Pros: Suitable for group brewing of coffee. Very easy to use, clean. Works by a campfire.
Against: Quality here may not be as developed as in any other type. Bulky to carry if hiking.
Conclusion:
Finding the Perfect Camping Coffee Shake for You It could be said, therefore, that camping coffee brewing is just endless. From cowboys’ coffee to a Bellman espresso, from the ease of an Aeropress Go to every other convenient brewing method, there’s a style and comfort level that fits your needs. The main thing is that you don’t have to put up with the badness of outdoors coffee! So pack up the favorite brewing gear, fresh beans, and enjoy that perfect cup of coffee with the best view in nature.