Hey, coffee lovers! It’s Alex Martinez, your favorite espresso guru. Whether you’re brewing out in the wild or in your own home, the Bellman Espresso Maker has got your back so that you can craft rich, café-style espresso and steamed milk right on your stovetop. And if you want to master the Bellman Espresso Maker and its steam wand, well it’s everything to learn espressos to flat whites—no matter where you are.
That’s it. Now, let’s all go on a journey into the realm of mobile espresso brewing and let you see how it works!
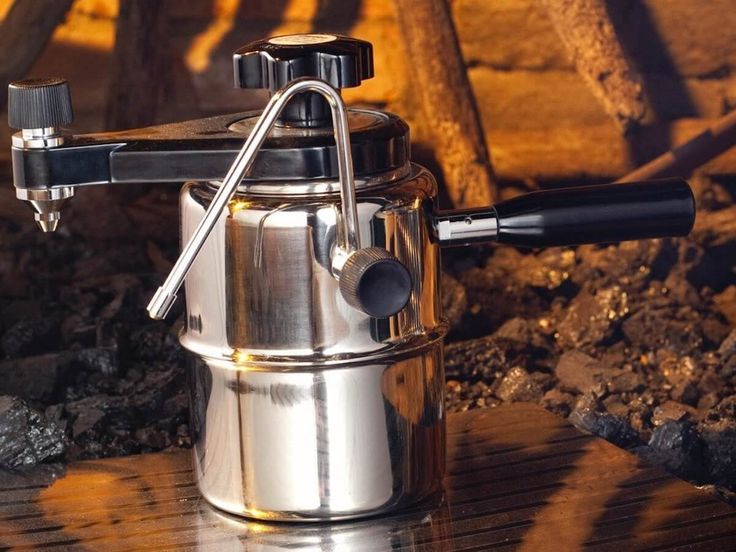
What Makes the Bellman Espresso Maker So Special?
The Bellman CX25P is more than a stovetop espresso maker-which really is a pretty versatile brewing machine that gives you café quality espresso and steamed milk on the go. It’s compatible with most stovetops-from gas to induction-so you can brew espresso right in the wild. With its built-in steam wand, it froths milk like a pro, making this a good latte machine, cappuccino machine, and flat white machine in just about any situation.
Whether you want a full, concentrated espresso or a lighter coffee style, the Bellman has got it both ways. With practice, you will master its techniques and brew great espresso for yourself and friends.
How to Brew Espresso using the Bellman CX25P
So, let’s start brewing espresso. Whether you’re new to the Bellman or a seasoned pro, these instructions will guide you to be more consistent about the flavor of your espresso every time.
Step 1: Grinding and Dosing the Coffee
There’s a right grind to achieving true espresso: freshly ground, from fine to well beyond fine to achieve the characteristic espresso grind. If your grind is too coarse, then the steam moves through it so quickly that it under-extracts the coffee and leaves you with a very weak brew.
At least 50g of coffee for a full basket. Basket reducers are available to buy separately to cater for any brews needing 30g or 15g of coffee.
Hold your finger over the hole at the center of the basket as you do so that no grounds fall through.
Tamp the coffee after packing the basket with a basket reducer or dedicated tamp. A proper tamp is essential to ensure even extraction.
Pro Tip: A paper filter over the tamped coffee allows for a cleaner shot with fewer fines. Optional but nearly mandatory for smoother shots of espresso.
Fill Water Chamber Step 2
Fill the Bellman tank with the least amount of water required for the strongest espresso.
Fill the water level just below the “3” mark on the chamber gauge. Fill just enough water in the flask for the extraction without diluting the coffee.
The process will be accelerated by using preheated water because pressure can build up more quickly.
Move into step 3: Preparation and Stew
Place the coffee basket on top of the water chamber, and screw your brew tap into place making sure that the brew tap is positioned away from where your handle end will be with your cup placed.
Put the Bellman on a medium heat and wait for the pressure to build. Keep all taps closed at this stage to allow the pressure to rise. You’re looking for the gauge to hit between 2 – and 2.5 bars.
Step 4: Taming Your Espresso
When the pressure is just right, it’s time to brew:
Pour your cup under the Brew Tap.
Now, slowly turn on the tap, allowing a few drips to fall, but in about 10-15 seconds, you should start to have espresso flowing.
However, maintain the steady trickle slowly to create a soft and constant droppage of coffee. Pouring out around 150ml of espresso is desired.
When the coffee begins to bubble or steam, it’s signaled by your reaching the bottom of the water chamber; the process is at its end. Turn off the tap and take the Bellman off the stove.
Use the Bellman’s Steam Wand
Now that you’ve brewed a rich shot of espresso, let’s steam some milk!
The Bellman’s steam wand makes it easy to create silky macrofoam for all your favorite milk-based drinks. Here’s how to master it:
Step 1: Purge the Steam Wand
There may be some wet steam after brewing, trapped in the steam wand. Open the steam tap for a few seconds, so all excess water will drain out. Wet steam will have the potential to destroy your milk texture: do not forget this step.
Step 2. Steam Milk
Add about a third of a cup of your preferred milk, or milk substitute, and then
Steam wand should be inserted in milk but just below the surface.
Turn on the steam. Put the wand in such a position that whirlpool is created in the milk. In this way, the right texture and temperature will be attained.
Submerge the wand a little deeper into the jug as the milk heats up. Very slight with a latte or flat white; quite deep in for a cappuccino, for the extra froth.
Now, when your milk temperature reaches approximately 60°C (140°F), it is ready. Switch off the steam and swirl it gently to combine the foam with the liquid.
Recipes to Try With Your Bellman Espresso Maker
Once you have perfected brewing and steaming, here’s what you can do with those recipes:
Americano
Brew a double shot of espresso and then dilute it in hot water to taste. It’s a lighter, more mellow coffee with all the rich flavors of an espresso.
Latte
Brew your shot of espresso, then steam your milk to 250ml with about 2-3cm foam. Pour the milk slowly over the shot to make a fine, creamy latte.
Flat White
Steamer: One shot of espresso; Steamed milk to around 100ml. No over-aeration, please-give me a normal thick layer of macrofoam. Pour milk over shot with light on foam.
Cappuccino: Brew your espresso and steam 150 ml of milk to thick frothy texture. Pour over shot, let it sit nicely on top with a dusting of cocoa for that added flair.
Conclusion:
Your ideal Bellman coffee machine This ultimate portable brewing system brings professional grade espresso and milk drinks right from your stovetop. A bit of practice helps get better at it, but very soon you’ll be brewing rich, flavorful coffee that is rivaling some of the best café espresso. Whether you are brewing at home or in the woods, the Bellman CX25P will never make you compromise on quality for espresso. Try new recipes and most importantly enjoy the process of getting to your perfect cup!